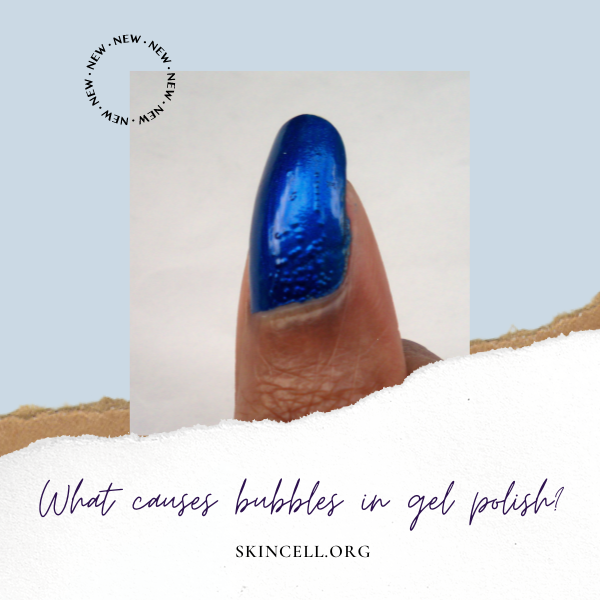
What Causes Bubbles in Gel Polish?
Struggling with bubbles in your gel polish?
It’s a common issue that can mar an otherwise perfect manicure. These pesky bubbles can arise from a variety of sources, ranging from preparation missteps to the actual application process.
Well, we’ll be going over:
- How does improper nail preparation contribute to bubble formation in gel polish?
- What application techniques can minimize or eliminate the risk of bubbles?
- Are there specific post-application tips that can help maintain a bubble-free gel polish finish?
Let’s dive in.
Key Takeaways
- Proper preparation and pre-application are essential to prevent bubbles in gel polish.
- Applying gel polish in thin and even layers and using the correct curing process and equipment can prevent bubbles.
- Post-application care, such as avoiding water and oil, can also help prevent bubbles in gel polish.
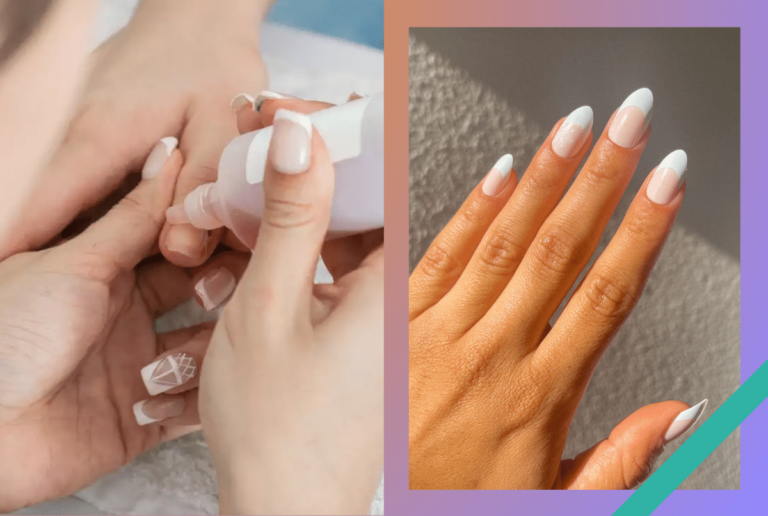
Preparation and Pre-Application
Before applying the gel polish, proper nail surface preparation is crucial to ensure a long-lasting and bubble-free manicure. Here are some essential steps to follow:
Nail Surface Preparation
Start by cleaning your nails with nail polish remover to remove any oils or residue. Then, use a nail file to shape your nails and a nail buffer to gently buff the surface of your nails. Be careful not to over-buff your nails, as this can cause damage and weaken them.
Next, use a cuticle pusher to push back your cuticles gently. This step is important because gel polish adheres better to the nail plate, not the skin. Use a cuticle nipper to remove any excess skin or hangnails around the nail bed.
To ensure that the gel polish adheres well to your nails, apply a nail bonder or primer. This product helps to create a strong bond between your natural nail and the gel polish. Apply a thin layer of bonder or primer and let it dry completely before proceeding.
Importance of Thin Layers
One of the main causes of bubbles in gel polish is applying too much product. Always apply thin layers of gel polish to your nails, and make sure each layer is completely dry before applying the next one. If you apply too much gel polish or don’t let the layers dry, it can trap air and cause bubbles to form.
Another important factor to consider is the application of the gel base coat. Make sure to apply a thin layer of base coat and cure it properly before applying the color coat. A thick or uneven base coat can also cause bubbles to form.
In summary, proper nail surface preparation and the application of thin layers are crucial to avoid bubbles in gel polish. By following these steps, you can achieve a long-lasting and flawless manicure.
Application Techniques
Proper Gel Polish Application
When applying gel polish, it is important to apply thin layers. Thick layers can lead to uneven curing and can increase the likelihood of bubbles forming. Additionally, make sure to shake the bottle well before use to ensure that the gel color is evenly distributed.
Hand placement is also important when applying gel polish. Make sure to keep your hand steady and avoid shaking or moving it too much. This can cause air bubbles to form in the polish.
Avoiding Air Bubbles
To prevent bubbles in gel polish, it is important to use proper application techniques. When applying each layer, make sure to brush the polish on in a smooth, even motion. Avoid over-brushing or over-working the polish, as this can cause bubbles to form.
If you do notice bubbles forming, try gently tapping the surface of the nail with the brush to release them. You can also use a toothpick or other small tool to carefully pop any bubbles that may have formed.
By using proper application techniques and taking care to avoid air bubbles, you can ensure a smooth, flawless finish for your gel polish manicure.
Curing Process and Equipment
When it comes to gel polish, the curing process is crucial to achieving a long-lasting, bubble-free finish. In this section, we will discuss the optimal curing time and the usage of UV and LED lamps.
Optimal Curing Time
The curing time for gel polish is dependent on the type of lamp used and the thickness of the layers applied. Generally, the optimal curing time for UV lamps is 2-3 minutes, while LED lamps require only 30-60 seconds. However, it is important to note that curing times may vary depending on the brand and type of gel polish used.
To avoid bubbles in your gel polish, be sure to follow the manufacturer’s recommended curing time. Over-curing or under-curing can both lead to issues such as bubbles and peeling.
UV and LED Lamp Usage
UV and LED lamps are both effective in curing gel polish, but they differ in terms of their wavelength and curing time. UV lamps emit a broader range of wavelengths, while LED lamps emit a narrower range. This means that LED lamps cure gel polish faster than UV lamps.
It is important to note that old UV lamps may not cure gel polish effectively, leading to bubbles and other issues. If you are experiencing bubbles after curing, it may be time to replace your UV lamp.
To ensure a bubble-free finish, be sure to cure your gel polish under a UV or LED lamp after each step. This includes after the base coat, color coat, and top coat. Additionally, be sure to follow the manufacturer’s instructions for curing your gel polish.
By following these guidelines, you can ensure a smooth, bubble-free finish for your gel polish.
Post-Application Care
Congratulations, you have successfully applied your gel polish! Now, it’s time to take care of your nails to maintain that long-lasting, glossy finish. Here are some tips on post-application care to help you get the most out of your gel polish manicure.
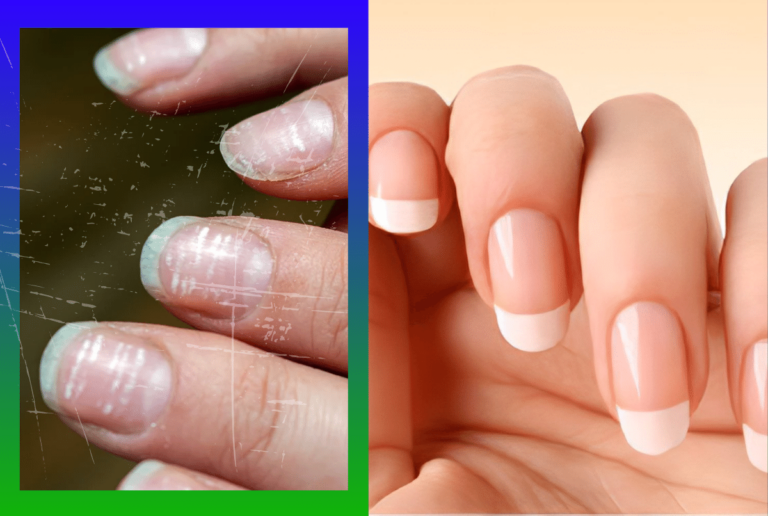
Fixing Bubbles After Curing
Bubbles in gel nail polish are not uncommon and can occur due to various reasons such as improper application, shaking the bottle, or not curing the polish long enough. If you notice bubbles after curing your gel polish, don’t worry! Here’s what you can do to fix them:
- Use a toothpick or an orangewood stick to gently pop the bubbles.
- Apply another thin layer of gel polish to even out the surface and cure it again.
Maintaining Gel Nails
To maintain your gel nails, it’s important to take care of them properly. Here are some tips on maintaining your gel nails:
- Apply a gel top coat to protect your nails from chipping and peeling. A gel top coat will also give your nails a glossy finish.
- Avoid exposing your nails to harsh chemicals such as cleaning products or acetone. Wear gloves when doing household chores to protect your nails.
- Moisturize your cuticles and nails regularly to prevent them from becoming dry and brittle.
By following these simple steps, you can maintain your gel nails for up to two weeks or even longer. Remember, proper post-application care is crucial to achieving a flawless and long-lasting gel polish manicure.
Advanced Tips and Troubleshooting
Working with Different Gel Polish Brands
Different gel polish brands may have different application methods and curing times. It is important to read the instructions carefully before using any new brand of gel polish. Some brands may require a thicker application, while others may require a thinner application. You may also need to adjust your curing time depending on the brand of gel polish you are using.
Preventing Common Gel Polish Issues
Bubbles in Gel Polish
Bubbles in gel polish can be caused by a variety of factors, including shaking the bottle too vigorously, using a gel polish thinner, working with a reflective plate, and applying gel polish that is too thick. To prevent bubbles, make sure to store your gel polish upright at room temperature and avoid shaking the bottle too vigorously before use. If you need to thin out your gel polish, use a gel polish thinner instead of regular nail polish remover. When applying gel polish, make sure to use thin, even coats and avoid applying too much product at once. You may also want to consider using a base coat and topcoat to help prevent bubbles.
Black Gel Polish
Black gel polish can be particularly tricky to work with, as it can be prone to streaking and uneven coverage. To prevent these issues, make sure to apply thin, even coats of black gel polish and avoid applying too much product at once. You may also want to consider using a base coat and topcoat to help even out the coverage. Additionally, make sure to cure each coat of black gel polish for the recommended amount of time to ensure proper curing and prevent streaking.
Nail Art and Glitter
When working with nail art and glitter, it is important to use a gel polish that is thick enough to hold the design in place. You may also want to consider using a gel polish with a thicker viscosity, as this can help prevent the glitter from sinking to the bottom of the nail. When applying nail art or glitter, make sure to use thin, even coats and avoid applying too much product at once. You may also want to consider using a base coat and topcoat to help hold the design in place and prevent chipping.
Thickness and Storage
Gel polish can thicken over time, especially if it is not stored properly. To prevent this, make sure to store your gel polish upright at room temperature and avoid exposing it to extreme temperatures or direct sunlight. If your gel polish does thicken, you can use a gel polish thinner to thin it out. However, make sure to use a gel polish thinner specifically designed for gel polish, as regular nail polish remover can damage the formula.
In conclusion, by following these advanced tips and troubleshooting techniques, you can prevent common issues when working with gel polish and achieve a flawless, long-lasting manicure.
Frequently Asked Questions
How can I prevent bubbles from forming in my gel nails during application?
To prevent bubbles from forming in your gel nails during application, make sure that you apply thin, even coats of gel polish. Thick coats of gel polish can trap air bubbles, which can lead to an uneven finish. Additionally, make sure that you are not shaking the bottle of gel polish before use, as this can introduce air bubbles into the polish.
What are the common mistakes that lead to bubbling in gel polish?
The most common mistakes that lead to bubbling in gel polish include applying thick coats of polish, shaking the bottle before use, and not allowing each coat to cure properly. Additionally, using old or contaminated gel polish can also lead to bubbling.
How can bubbles be fixed after gel polish has been applied?
If bubbles have formed after gel polish has been applied, it is best to wait for the polish to cure completely, and then gently buff the surface of the nail to remove the bubbles. However, prevention is the best course of action, so make sure to follow proper application techniques to avoid bubbles in the first place.
What does the presence of bubbles indicate about my gel polish technique?
The presence of bubbles in your gel polish indicates that you may be applying the polish too thickly or shaking the bottle before use. It is important to apply thin, even coats of polish and to avoid shaking the bottle to prevent bubbles from forming.
Why does my gel top coat sometimes form bubbles or separate?
Gel top coat can sometimes form bubbles or separate if it is applied too thickly or if it is not cured properly. Additionally, using an old or contaminated top coat can also lead to these issues.
How can I ensure a smooth, bubble-free finish when using gel polish?
To ensure a smooth, bubble-free finish when using gel polish, make sure that you are applying thin, even coats of polish and that you are not shaking the bottle before use. Additionally, make sure that each coat is cured properly before applying the next coat.