Press On Nails for Flat Nail Beds
Are you on the hunt for the perfect manicure solution for your flat nail beds?
Press-on nails might just be the game-changer you need. With their ease of application and wide array of designs, they cater perfectly to unique nail shapes and personal styles, promising a salon-worthy look right at home.
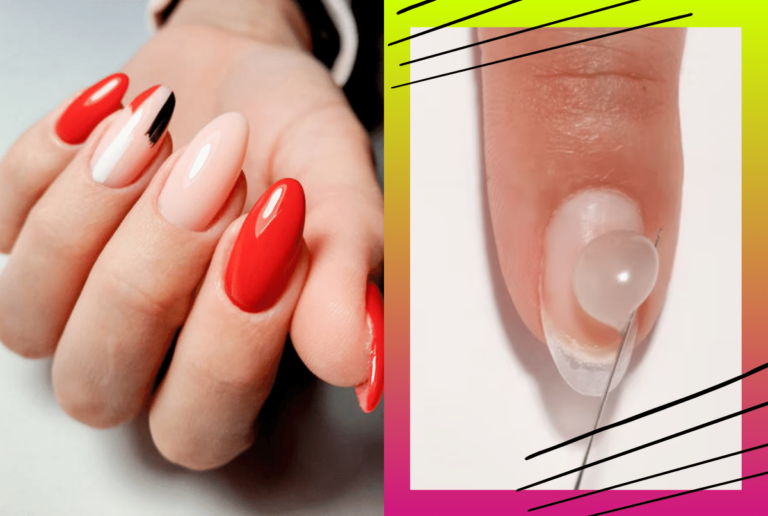
Flat nail beds, characterized by their minimal curve, pose a unique challenge for traditional nail enhancements. This lack of curvature often leads to issues with polish application and durability.
Enter press-on nails – the versatile and customizable option that ensures a snug fit, eliminating the common pitfalls of pooling polish and lifting edges. The key lies in selecting the right adhesive and mastering the application technique to secure a long-lasting, flawless finish.
Well, we’ll be going over:
- What makes press-on nails a viable option for those with flat nail beds?
- How can you select the perfect set of press-on nails that complement flat nail beds?
- What are the best practices for applying and maintaining press-on nails to ensure they stay put and look fabulous?
Let’s dive in.
Key Takeaways
- Press-on nails can be a great solution for those with flat nail beds.
- Understanding your nail shape is crucial when selecting the right press-on nails.
- Proper adhesive and application techniques are key to maintaining a long-lasting manicure.
Understanding Flat Nail Beds
If you have flat nail beds, you may have noticed that traditional press on nails don’t always fit properly. Understanding the anatomy of flat nail beds and the challenges they present can help you choose the right press on nails and ensure a perfect fit.
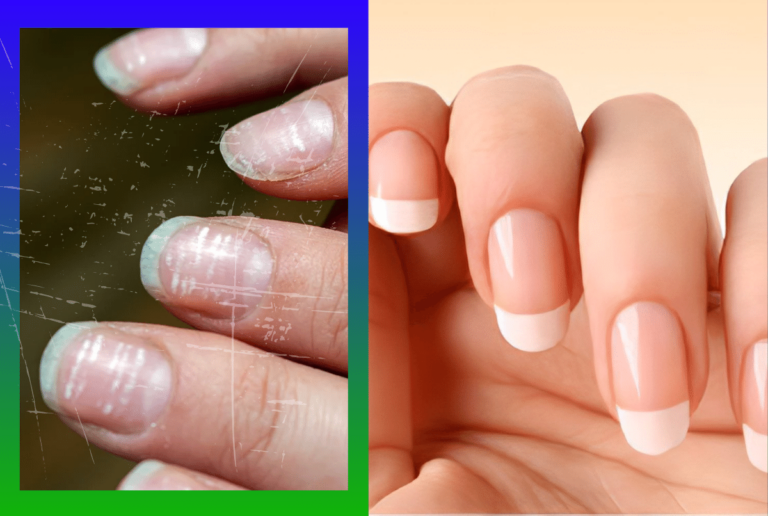
Anatomy of Flat Nail Beds
The nail bed is the skin beneath the nail plate. It is responsible for producing the nail plate, which is the hard, protective covering of the nail. Flat nail beds are characterized by a lack of curvature in the nail bed.
This can make it difficult for traditional press on nails to adhere properly, as they are designed to fit the curvature of a natural nail.
Challenges with Flat Nail Beds
One of the main challenges with flat nail beds is finding press on nails that fit properly. If the press on nails are too curved, they will not adhere properly to the nail bed. If they are not curved enough, they will not fit properly and may look unnatural.
Additionally, because flat nail beds lack curvature, they are more prone to lifting and peeling, which can cause the press on nails to fall off prematurely.
To overcome these challenges, it’s important to choose press on nails that are specifically designed for flat nail beds. These press on nails are typically flatter and wider than traditional press on nails, and are designed to adhere to the nail bed without lifting or peeling.
Some press on nails for flat nail beds also feature a flexible design, which allows them to conform to the shape of the nail bed for a more natural look and feel.
In summary, understanding the anatomy of flat nail beds and the challenges they present can help you choose the right press on nails and ensure a perfect fit. By choosing press on nails that are specifically designed for flat nail beds, you can achieve a natural look and feel without worrying about lifting or peeling.
Selecting the Right Press-On Nails
When it comes to selecting press-on nails for flat nail beds, there are a few important factors to consider. You want to ensure that you choose nails that fit properly, are the right shape and style, and are made from durable materials that will last. Here are some tips to help you select the perfect manicure:
Assessing Size and Fit for Flat Nail Beds
One of the most important things to consider when selecting press-on nails is the size and fit. If you have flat nail beds, you want to choose nails that are wide enough to cover the entire surface of your nail.
Measure the width of your nail bed and compare it to the width of the press-on nails. If the nails are too narrow, they may not stay on properly, while nails that are too wide may look unnatural.
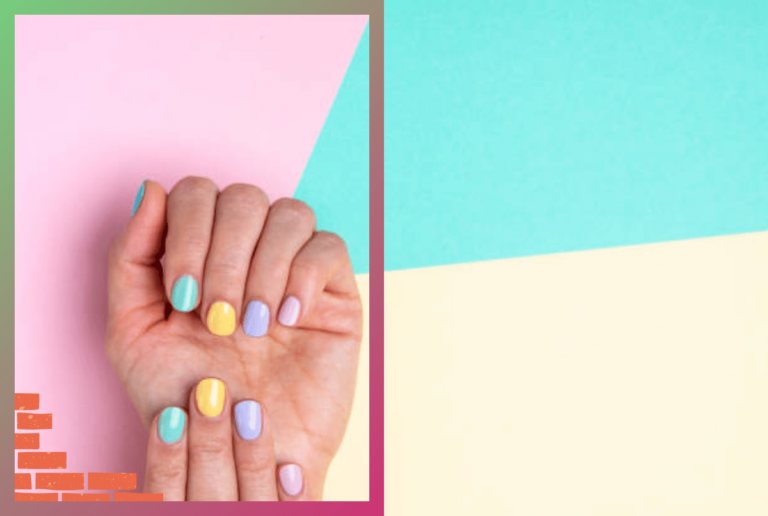
Shapes and Styles Suitable for Flat Nail Beds
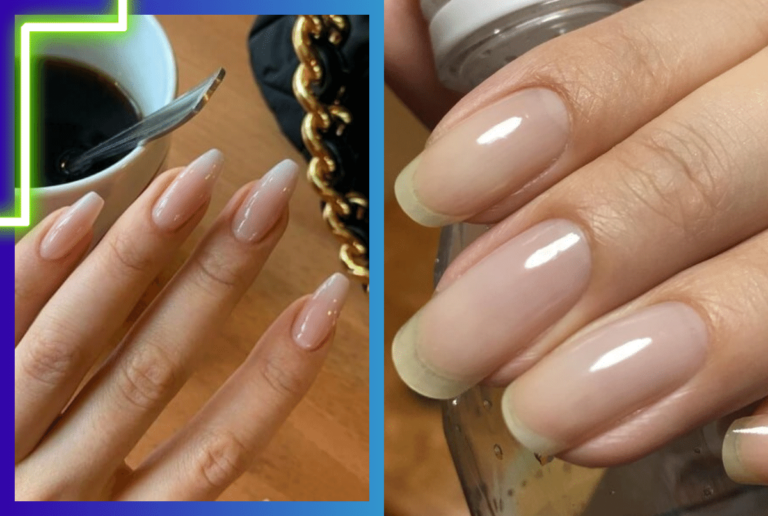
Choosing the right shape and style of press-on nails is also important. Square and squoval shapes are great options for flat nail beds, as they create the illusion of a more curved nail bed. Avoid nails with a deep C-curve, as they may not sit properly on flat nails.
When it comes to styles, choose something that suits your personal taste and lifestyle. If you are looking for a natural look, go for a French manicure or a neutral color. If you want something more bold, try a bright color or a patterned nail.
Comparing Materials and Durability
Press-on nails come in a variety of materials, including acrylic, gel, and plastic. Acrylic nails are durable and long-lasting, while gel nails are more flexible and natural-looking.
Plastic nails are the most affordable option, but may not last as long. Consider your lifestyle and how long you want your press-on nails to last before choosing a material.
In conclusion, selecting the right press-on nails for flat nail beds requires careful consideration of size, shape, style, and material. By following these tips, you can achieve a perfect manicure that looks natural and lasts for days.
Adhesive Options and Application Techniques
If you have flat nail beds, press on nails can be a great option to add length and style to your nails. However, choosing the right adhesive and applying the press on nails correctly is crucial for a long-lasting and natural-looking result.
Choosing the Right Adhesive
When it comes to adhesive options for press on nails, there are several choices available in the market. Nail glue is the most common adhesive used for press on nails, but adhesive tabs and waterproof glue are also popular choices.
Nail glue is a strong adhesive that can hold press on nails in place for up to two weeks. Adhesive tabs, on the other hand, are a temporary option that can last up to a few days. Waterproof glue is a great option if you plan to swim or shower with your press on nails.
When choosing an adhesive, make sure to read the label and follow the instructions carefully. Some adhesives may not be suitable for certain skin types or may cause an allergic reaction.
Preparing Your Natural Nails for Application
Before applying press on nails, it’s important to prepare your natural nails properly. Start by cleaning your nails with nail polish remover to remove any oils or dirt. Then, file your nails to your desired shape and length.
Next, buff the surface of your nails gently to create a rough texture that can help the adhesive stick better. Avoid buffing too hard, as this can damage your nails.
Step-by-Step Application Guide
Once your natural nails are prepped and ready, it’s time to apply the press on nails. Here’s a step-by-step guide to help you:
- Choose the right size press on nail for each of your natural nails.
- Apply a small amount of adhesive to the back of the press on nail or to your natural nail.
- Carefully place the press on nail on your natural nail, starting from the cuticle and pressing down firmly.
- Hold the press on nail in place for a few seconds to allow the adhesive to set.
- Repeat the process for all of your nails.
Remember to trim and file your press on nails to your desired length and shape after application.
By following these tips and techniques, you can achieve a flawless and long-lasting press on nail application on your flat nail beds.
Maintaining Press-On Nails on Flat Nail Beds
If you have flat nail beds, finding the perfect fit for press-on nails can be a challenge. However, with a little bit of care and attention, you can maintain your press-on nails on flat nail beds and keep them looking great for longer.
Daily Care Tips
To ensure that your press-on nails stay in place, you should follow these daily care tips:
- Clean your nails thoroughly before applying the press-ons. Any dirt or oil on your nails can cause the press-ons to come off easily.
- Use a nail buffer to roughen up the surface of your nails. This will help the press-ons adhere better to your nails.
- Apply a thin layer of nail glue to your nails before applying the press-ons. This will help the press-ons stay in place for longer.
- Avoid using your nails as tools. This can cause the press-ons to break or come off easily.
Longevity and Reusability
With proper care, press-on nails can last for up to two weeks. To ensure that your press-ons last as long as possible, follow these tips:
- Avoid exposing your press-ons to water for extended periods. Water can cause the glue to weaken and the press-ons to come off easily.
- Remove your press-ons gently when you’re ready to take them off. Use a nail polish remover to dissolve the glue and gently peel off the press-ons.
- Store your press-ons in their original packaging when you’re not using them. This will help keep them clean and prevent them from getting damaged.
Managing Press-Ons with Water Exposure
If you need to expose your press-ons to water, follow these tips:
- Apply a waterproof top coat to your press-ons before exposing them to water. This will help protect the glue and prevent the press-ons from coming off easily.
- Dry your press-ons thoroughly after exposure to water. Use a towel or blow dryer on the cool setting to dry your press-ons completely.
- Avoid soaking your press-ons in water for extended periods. This can cause the glue to weaken and the press-ons to come off easily.
Press-on nails are a convenient and reusable alternative to traditional nail polish. With a little bit of care and attention, you can maintain your press-ons on flat nail beds and keep them looking great for longer.
Removal and Aftercare
Press on nails are a great way to achieve a professional-looking manicure without the time and expense of going to a salon. However, when it comes time to remove them, it’s important to do so safely to avoid damaging your natural nails. Here are some tips for safe removal and aftercare:
Safe Removal Techniques
- Acetone: The most effective way to remove press on nails is to use acetone. Soak a cotton ball in acetone and place it on top of the press on nail. Wrap the cotton ball and nail in foil and let it sit for 10-15 minutes. The press on nail should slide off easily.
- Cuticle Stick: If you don’t have acetone, you can use a cuticle stick to gently pry the press on nail off your natural nail. Be sure to work slowly and carefully to avoid damaging your natural nail.
- Buffer: If the press on nail is not coming off easily, use a buffer to gently file the top layer of the press on nail. This will help the acetone penetrate the nail and make it easier to remove.
Caring for Natural Nails Post-Removal
- Nail Polish Remover: After removing the press on nails, use nail polish remover to clean any remaining adhesive off your natural nails. Be sure to use a non-acetone nail polish remover to avoid drying out your nails.
- Rubbing Alcohol: To disinfect your nails and prevent any infections, wipe your nails with rubbing alcohol after removing the press on nails.
- Moisturize: After removing the press on nails, be sure to moisturize your nails and cuticles. Use a nourishing cuticle oil or cream to keep your nails healthy and strong.
By following these tips, you can safely remove press on nails and keep your natural nails healthy and strong. Remember to always be gentle and patient when removing press on nails to avoid damaging your natural nails.
Frequently Asked Questions
What are the best press-on nail brands for those with flat nail beds?
When looking for press-on nails, it is important to consider the shape and size of your natural nails. For those with flat nail beds, it is recommended to look for brands that offer a variety of sizes and shapes to fit your nails comfortably.
Some popular press-on nail brands that offer a range of sizes and shapes include Kiss, imPRESS, and Static Nails.
How can you adapt press-on nails to fit wide or flat nail beds effectively?
If you have wide or flat nail beds, it can be challenging to find press-on nails that fit comfortably. One way to adapt press-on nails is to file the sides of the nails to fit the width of your natural nails. You can also use a nail buffer to gently buff the surface of your nails to help the press-on nails adhere better.
What are the top tips for applying press-on nails on flat nail beds?
Applying press-on nails on flat nail beds can be tricky, but with the right technique, it can be done easily. First, make sure to clean your nails thoroughly and remove any oil or residue.
Apply a thin layer of glue to the back of the press-on nail and align it with your natural nail. Hold it in place for a few seconds until the glue dries. Finish by filing the nails to your desired shape.
Are there specific press-on nail shapes that work better for flat nail beds?
When it comes to press-on nail shapes, it is important to choose a shape that complements the shape of your natural nails. For those with flat nail beds, it is recommended to choose a nail shape that is slightly curved, such as an oval or almond shape.
This will help the press-on nails adhere better and look more natural.
Can press-on nails be a suitable option for those with weak nails?
Press-on nails can be a great option for those with weak nails, as they provide an extra layer of protection and support. However, it is important to choose press-on nails that are gentle on your natural nails and do not cause further damage.
Look for brands that offer press-on nails made with non-toxic and gentle materials.
How do flexible press-on nails compare to traditional ones for small or flat nail beds?
Flexible press-on nails are a great option for those with small or flat nail beds, as they conform to the shape of your natural nails more easily. Traditional press-on nails can sometimes be too stiff and difficult to apply on smaller or flatter nail beds.
However, it is important to choose a flexible press-on nail that still offers a secure hold and does not easily lift or peel off.