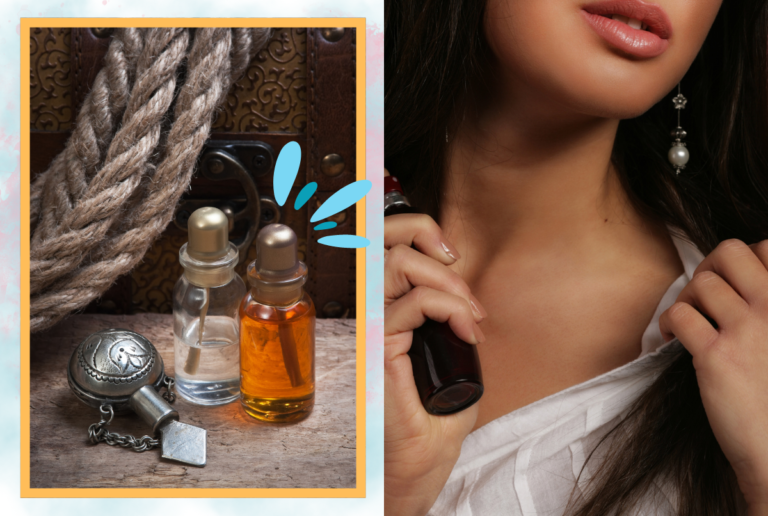
How To Whip Shea Butter
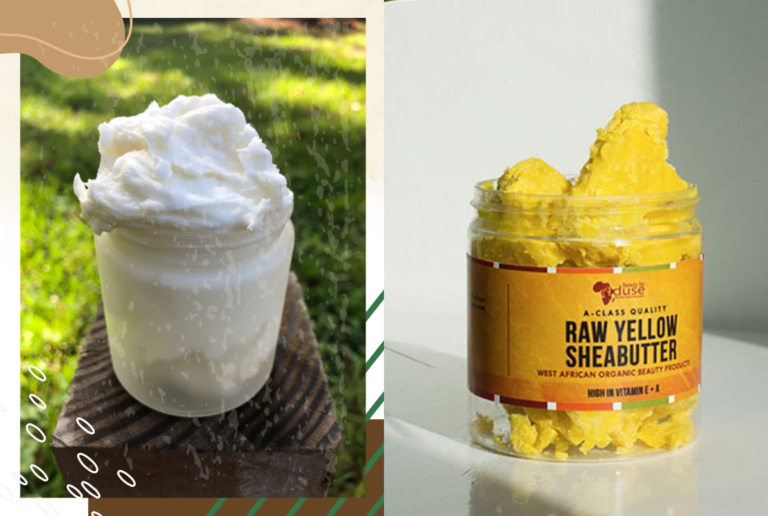
Often nicknamed “women’s gold,” shea butter is a very popular ingredient used in beauty products worldwide.
Its origin dates back to Queen Cleopatra of Egypt, when it was used for cosmetics, making topical creams, and in desserts to enrich their taste. And today, its whipped version has made it extremely versatile in terms of use.
The good news is that you don’t have to rush to the store just yet, as it’s possible to make some at home. Hence, we have prepared this guide to help you make your whipped shea butter at home.
But before that, let us quickly explain the numerous benefits of whipped shea butter. Let’s dive in then, shall we?
What Are The Benefits Of Whipped Shea Butter?
The rich fat content and subsequent moisturizing properties of shea butter can be credited to its source, i.e., the seeds from the shea tree’s fruit. That’s why it’s a popular option when it comes to treating cracked, dry, itchy, or irritated skin on the body and scalp.
However, its composition contains more essential nutrients that help the skin in the long run.
For instance, the vitamin E (1), A (2), and F (3) in whipped shea butter can prevent sun damage, dark spots, as well as the early signs of aging like fine lines and wrinkles. Aside from that, it can protect the existing collagen and promote new collagen production to help maintain the natural flexibility of the skin.
The regular application of whipped shea butter (4) can also help reduce or treat skin conditions such as:
- Psoriasis
- Eczema
- Dermatitis
- Insect bites
- Sunburn or sun spots
- Acne or scars
- Blemishes
- Rashes
- Stretch marks
Moreover, the anti-free radical content (similar to antioxidant) content in shea butter can penetrate the skin and promote microcirculation upon reaching the muscles and bones. As such, it can render several benefits, like reducing muscle fatigue or tension and relieving rheumatoid-arthritis-related pain and inflammation. Beyond that, it can “lock-in” other creams or medicinal ointments applied to the skin or muscles, making them more effective.
This may come as a surprise for some people, but it’s even possible to consume shea butter (in regulated amounts, of course) to help with constipation and better digestion of certain vitamins and minerals. Not only that, but it can also be added to desserts to make them taste creamier!
Why Should You Whip Raw Shea Butter?
Given the plethora of advantages that raw shea butter brings to the table, we understand if you want to bring some and start using it right away. And although it’s the best thing to do, the super hard texture makes application almost impossible.
That’s why we’d recommend whipping it, which makes it easier to apply to the skin or hair. You can even add it to your daily beauty, makeup, or haircare products and apply them as usual.
How To Make Whipped Shea Butter?
We will now walk you through five different recipes to make whipped shea butter the DIY way, at the convenience of your home. The consistencies may vary from one method to another, but rest assured that the final result will be just as useful and beneficial.
1. With A Spoon Or Fork
This technique is ideal for people who want to make a small batch for trial purposes without using any fancy machinery. That being said, whipping shea butter this way will require considerable effort, as you will have to whip it by hand for several minutes. And although the “whipped” texture will not be as good as store-bought, the resultant consistency will still facilitate seamless application.
Ingredients List
- Raw shea butter kept at room temperature
- Olive oil or coconut oil
- One optional oil (as desired)
- Glycerin (optional)
- Tools and appliances – Spoon or fork and ceramic, glass, or wooden bowl
Preparation Method
Start by taking some raw shea butter in the bowl and mash it by pressing it against the side of the bowl. Once the texture has loosened up a bit, adopt a whisking motion to make the butter fluffy. At this point, you can add the olive or coconut oil and glycerin in small quantities to make the process easier. Besides, the latter will add more moisturization properties.
Once you’re happy with the consistency, add some of the optional oil and give it one final mix. For instance, you can add jojoba, almond, or castor oil if you plan to apply the butter for hair growth.
2. With A Food Processor
A food processor, whether big or small, will definitely make life easy by saving you from tiring your hands out to whip the butter. Hence, you can achieve just the right whipped butter base for shampoos, conditioners, and lotions within minutes and with only a few simple ingredients.
Ingredients List
- Raw shea butter
- Carrier oils (coconut and extra virgin olive oil) (5)
- Essential oils (optional)
Preparation Method
Add the required amount of shea butter to the processor bowl and turn on the processor for a few minutes to help soften the butter. Then, add some carrier oils (you only need a couple of tablespoons) to help break down the fat content, thereby softening it up even more.
Finally, pour a few drops of the essential oils to add some fragrance to the whipped butter. Pulse the processor until everything is combined and mix it for a couple of more minutes.
Once you’re satisfied with the result, use a whisk to incorporate some air into the mixture, which will make the texture more light and airy. Your homemade whipped shea body butter is now ready to use!
3. With A Blender
Blenders are easy to use and available in most households, making them a go-to tool for making whipped shea butter for lotions or conditioners the DIY way. However, since they have a narrow point of contact, it’s essential to get hold of some additional liquid ingredients for this recipe to prevent the butter from becoming stiff during the mixing process.
Ingredients List
- 5 oz. raw or natural shea butter
- 4 oz. aloe vera gel and coconut oil, each
- 1 oz. glycerine and argan oil, each
- Tools and appliances – spatula and measuring scale or cup
Preparation Method
You can either start by softening up the butter (like in the previous method) in the blending jar or directly add everything into it. We’d suggest pulsing on medium speed for the first couple of minutes, and breaking the bigger chunks on the bottom using the spatula.
Once you notice that the chunk formation has subsided, blend on the lowest speed for about 6 minutes or until everything is thoroughly combined.
Finish off by adding a few drops of your favorite essential oil (optional) before pouring out the butter into a clean jar or container. Again, you may need to whip it to make it more fluffy and easy to apply, as blenders and food processors usually contribute to a thick or dense consistency.
Another thing to note here is that you can adjust the quantity of the ingredients while maintaining their ratio to make a smaller or larger batch as required.
4. With An Immersion Blender
If you want to customize the texture of the shea body butter without much effort and any oils, then an immersion blender will come to your rescue. All you have to do is hold the blender the right way, and you will be good to go!
Ingredients List
- Organic shea butter
- Tools and appliances – Glass or ceramic bowl and spatula
Preparation Method
Take any amount of shea butter, dump it in a bowl, and start whipping with the immersion blender. The best thing about this technique is that you can adjust the consistency of the whipped butter by holding the blender differently.
For instance, if you want light and fluffy butter, keep the blender slightly lifted during the mixing process to incorporate adequate air. On the other hand, holding the blender close to the bowl will give you a more dense or stiff texture. But if it becomes difficult to work with, feel free to add a few drops of your preferred carrier oil.
5. With A Standing Mixer
The primary advantage of using a standing mixer is that the settings on offer allow you to achieve a fluffy egg-meringue-like density, which makes it easy to apply or mix with other products. You can even use this whipped butter as a moisturizing makeup remover, conditioner, or simple moisturizer.
Ingredients List
- 1 cup organic shea butter
- 1/3rd cup coconut oil
- Avocado and rapeseed oil, 1 tablespoon each
- 2 tablespoon olive oil
- 1 teaspoon honey
- Few drops of tea tree oil
Preparation Method
Throw the ingredients into the mixer bowl and continue mixing on the medium speed setting for about 15 minutes. You will notice that the texture has changed significantly.
Stop the mixer, scrape the sides with a spatula, and mix for a minute each at all the available settings. This is a great way to incorporate maximum air into the butter without requiring you to whisk it manually. However, this method works best for larger batches, so it may not be suitable for people looking to whip small amounts of shea butter.
How To Melt The Shea Butter?
As you may have already figured out, raw shea butter is pretty hard and can often be difficult to “break through.” Although it’s recommended to store it in a clean container in a cool, dry place, you may place it in the fridge if you live in a warmer region. But that will only add to the problem.
However, the double boiler method for melting shea butter will come to your rescue in such cases. Use a sharp knife to chop up small blocks of the butter and put them in a glass bowl. Then, take another container, fill it with water, and let it come to a rolling boil.
Once this step is done, place the glass bowl atop the boiling water and start stirring. Keep the heat on low to medium and stir continuously; this will prevent it from burning all the way through.
Alternatively, you can put the solidified shea butter in a closed glass jar or container and immerse it in some hot water to soften it. This technique works best for melting smaller quantities of butter, but make sure that the water doesn’t contact it.
When the butter has completely liquified, take it off the flame and let it cool down a bit before adding the carrier and essential oils. Remember that the oils will just separate if the melted shea butter is too hot. Then, whisk it by hand or use any method mentioned above to create the perfect shea butter base.
How To Store The Whipped Shea Butter?
We’d strongly recommend storing the whipped shea butter in clean, glass containers instead of plastic ones. This is because the plastic surface is usually more prone to retaining bacteria and germs, thereby contaminating the butter.
You can also use decorated glass jars for storage or decorate them yourself, which can then become the perfect holiday gift for friends and family.
Final Words
With that, it’s time for us to bring down the curtains on today’s guide.
We know that you can’t wait to start making some whipped shea butter, and we won’t hold you any longer. However, here are a few pro tips to keep in mind before calling it a day. Firstly, don’t add any more oils to the butter once it’s whipped and stored.
Secondly, if you don’t like its greasy texture, add a few drops of rosewater to make it suitable for application while adding a pleasant floral scent. Next time, we will see you with more informative reads, so keep an eye on this space.
Adios!
References:
(1)- https://www.medicalnewstoday.com/articles/vitamin-e-for-skin
(2) – https://www.healthline.com/health/vitamin-a-for-skin
(3)- https://ghc.health/blogs/all-about-men/benefits-of-vitamin-f-for-your-skin
(4)- https://www.healthline.com/health/beauty-skin-care/what-is-shea-butter
(5)- https://www.thenatureofthings.ie/en-us/blogs/recipes/benefits-of-carrier-oils

